Changing Titles in Google Authenticator
Surely you know that the best practice for securing your accounts is to enable two-factor authentication:
When all that is between you and an attacker getting intoyour account is a single password, you’re running a risk that is fargreater than what you need be taking. A password is one factor – “somethingyou know”. Now if we add something you have such as your mobile phone andthe email service verifies your identity when you first log on by sendingan SMS to that thing you have, the security position of your email changesfundamentally.
Troy Hunt,10 email security fundamentals for everyday people
And hopefully you're using an application as your second factor, instead of text messages. Text messages may not work when you travel to foreign countries, but you're also reliant upon your wireless carrier to keep your data secure:
Two-factor auth using cell phone as second factor: not secure. Terrifying. https://t.co/afQLkJAX1a
— John Gruber (@gruber) July 7, 2017
Instead, use TOTP (Time-based One-Time Pad) to get a six digit number from a local application. There are many applications that support TOTP, but I keep it old school, and use the Google Authenticator application.
The problem with the Google Authenticator app, though, is that it doesn't let you edit the title of a website (the "issuer") once you've set it up. So you end up with a number that's missing a title, and there's no good way to identify it.
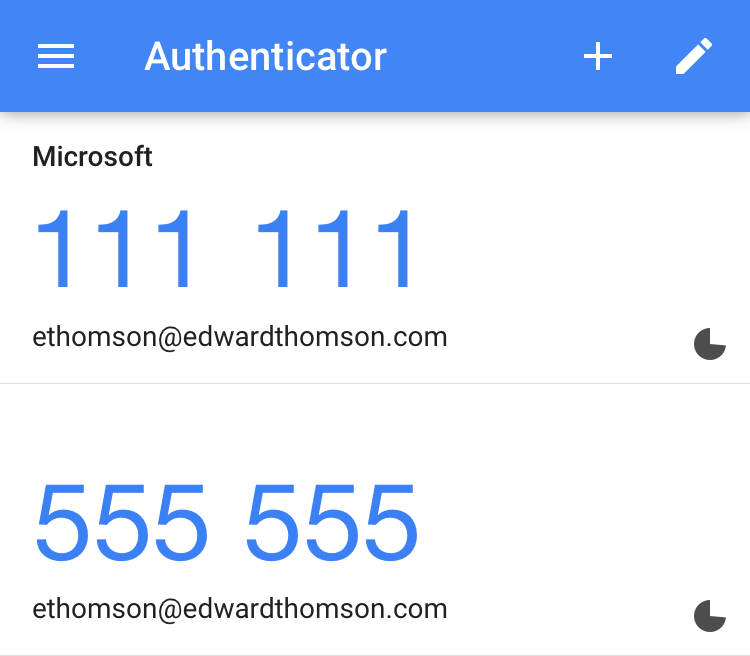
Here, the first entry is obviously for my Microsoft account, but the second entry...? I have no idea what it's for:
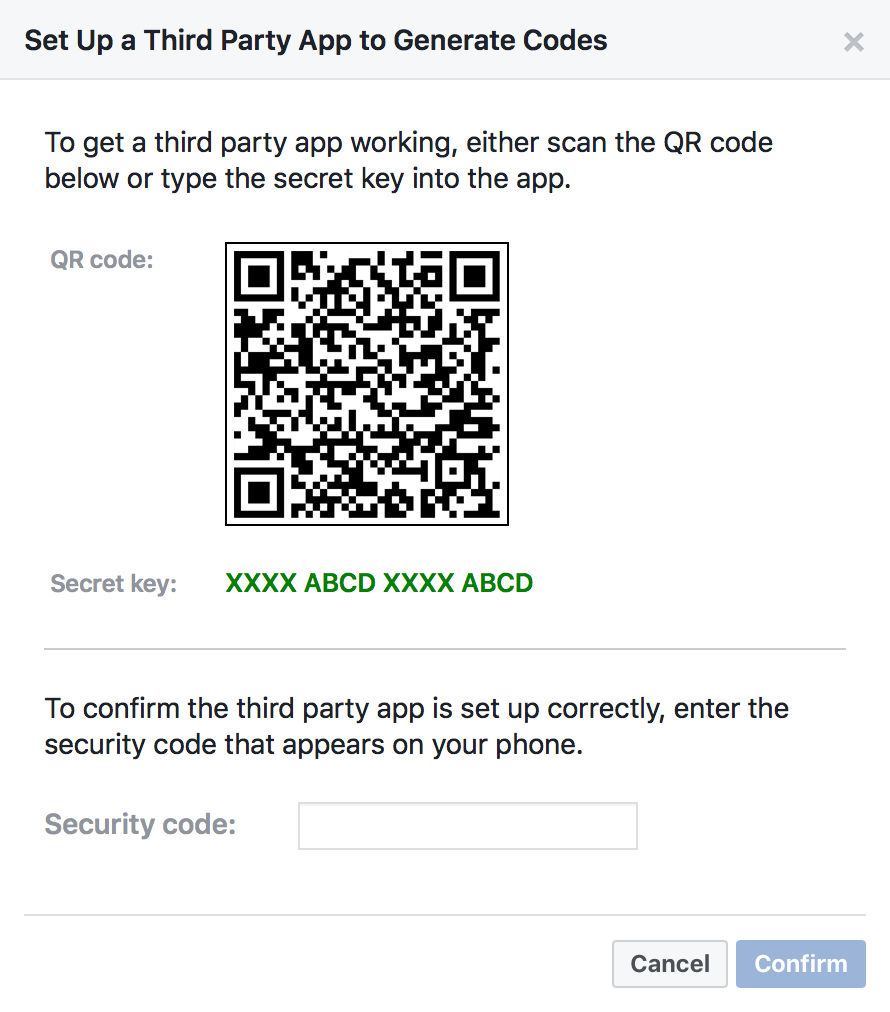
Thankfully, TOTP is a published standard, so you can actually create - and then scan - your own QR code based on the secret number that you're given when you turn on two-factor authentication:
The QR code that you scan to set up a new account is generated by constructing a URL with the secret number and some metadata, and then encoding that with a QR generator. The format is:
otpauth://totp/account_name?secret=secret_key&issuer=Website_Title
The account_name - as the name
suggests - reflects the name of your account on the website. This is your
username or email address, generally. Google Authenticator shows this as
the second line of the key.
The secret_key is the secret key that
the web site gives you when you enable TOTP. (In the example above, it's
XXXX ABCD XXXX ABCD).
Finally, the issuer is the name of
the website itself. This is the larger header displayed above your key.
It's such a simple mechanism that you can just create a new URL with those values and then use your favorite QR generating tool to create a QR code for your custom URL. (Remember to URL-encode any of your values!)
If you don't have a QR generator (I didn't) then you can install the very simple qrencode package and generate a QR code into an image file.
Better still, you can specify ANSI as the output type:
% qrencode -t ANSI otpauth://totp/ethomson@edwardthomson.com?secret=XXXXABCDXXXXABCD&issuer=My%20Title
And it will dump a QR code straight to your console:

Now you just point Google Authenticator at your terminal window, and you can see that it adds a secret with a custom title of "My Title":
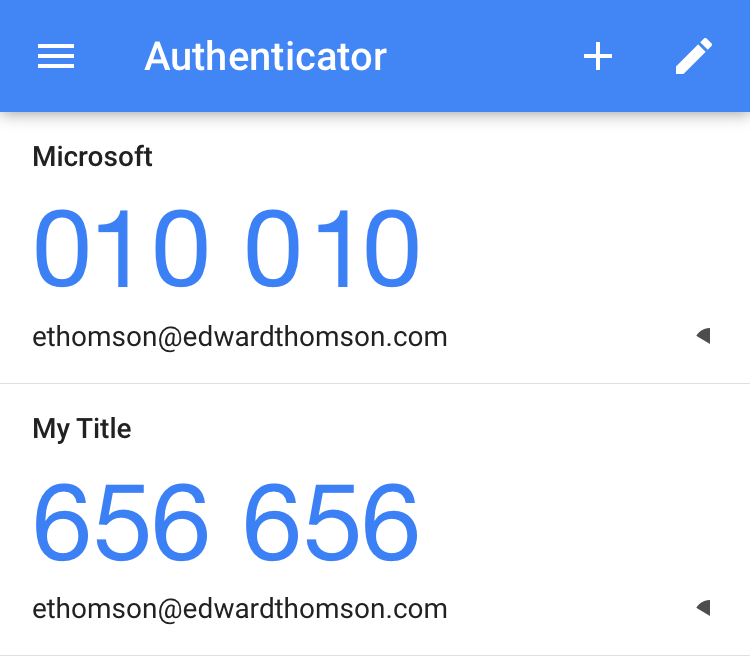
Voila!